Michelin-Starred Sake Kasu Dacquoise
A Michelin-inspired Japanese-French dacquoise with delicate almond meringue cookies and silky sake kasu buttercream.

Inspired by a Michelin-starred dessert in New York City, this sake kasu dacquoise combines delicate almond meringue cookies with a silky, deeply aromatic sake kasu buttercream.
If you have never had dacquoise before, think of it as something like a macaron’s much more forgiving cousin. Both are made with meringue and almond flour, but dacquoise is easier to make and has its own distinctive texture: lightly crisp on the outside, soft and airy inside, with a subtle chew from the almonds.
What really makes this version special is the filling.
Sake kasu, or sake lees, is the fermented rice solids left behind during sake production. It is slightly boozy, gently sweet, savory, and deeply aromatic. Whipped into buttercream, it cuts through the richness of the butter and creates a flavor that is surprisingly complex and incredibly addictive.
Ingredients
Almond Dacquoise:
- 60 g almond flour
- 7 g cake flour
- 40 g powdered sugar
- 83 g egg whites
- 25 g granulated sugar
- Additional powdered sugar, for dusting
Sake Kasu Buttercream:
- 20 g egg yolk
- 6 g granulated sugar
- 55 g whole milk
- 70 g unsalted butter, softened
- 15-20 g sake kasu, to taste
Part 1: Make the Dacquoise
-
Combine the almond flour, cake flour, and powdered sugar. Sift everything together thoroughly and set aside. Sifting is particularly important here because larger clumps of almond flour can weigh down the meringue and make the finished dacquoise less delicate.
-
Place the egg whites in a clean, grease-free mixing bowl. Begin whipping until the whites become foamy.
-
Gradually add about half of the granulated sugar and continue whipping. Once the bubbles become finer and the meringue begins to gain structure, gradually add the remaining sugar.
-
Continue whipping until you have a firm, stable meringue with defined peaks. The finished meringue should look smooth and glossy and hold a distinct peak when the whisk is lifted. Avoid taking it too far. You want a meringue that is firm but still supple, rather than dry, clumpy, or difficult to fold.
-
Sift half of the dry ingredients over the meringue. Using a large silicone spatula, cut straight down through the center of the meringue, sweep the spatula along the bottom of the bowl, then lift and fold the mixture up and over itself. Rotate the bowl slightly and repeat.
-
Once the first addition is mostly incorporated, sift in the remaining dry ingredients. Continue using the same cut-and-fold motion, scraping from the bottom each time, just until no visible pockets of dry ingredients remain.
-
Avoid stirring in circles or pressing the mixture against the bowl, as this can knock too much air out of the meringue. Think: down through the center, across the bottom, up and over, rotate the bowl, repeat. The finished batter should remain light, aerated, smooth, and slightly glossy, with enough structure to hold its shape. Do not overmix.
-
Transfer the batter to a piping bag fitted with your preferred piping tip. Pipe evenly sized rounds or ovals onto a parchment-lined baking sheet. Try to keep them consistent in size and thickness so they bake at the same rate.
-
Using a fine-mesh sieve, lightly and evenly dust the surface of each dacquoise with additional powdered sugar. The powdered sugar used for dusting is extra and is not included in the 40 g powdered sugar used in the batter.
-
Let the first coating sit for approximately 5 minutes, allowing some of the sugar to absorb into the surface. Then dust the dacquoise with a second light coating of powdered sugar. This double dusting helps create the characteristic delicate, slightly crackly crust while helping the interior retain moisture.
-
For a conventional oven, preheat to 180 C / 355 F. Place the dacquoise in the oven, then reduce the temperature to 170 C / 340 F. Bake for approximately 20 minutes, or until lightly golden and set. For a convection oven, bake at approximately 150 C / 300 F for about 25 minutes.
-
Do not open the oven door during baking. A sudden drop in temperature while the meringue structure is still setting can cause the dacquoise to collapse or shrink.
-
Remove the tray from the oven and allow the dacquoise to cool completely on the baking sheet. Do not try to remove them while they are still warm. Freshly baked dacquoise is delicate and can easily deform, tear, or damage its crust.
-
Once completely cool, carefully peel the dacquoise away from the parchment and set aside.
Part 2: Make the Sake Kasu Buttercream
-
Combine the egg yolk and granulated sugar. Whisk until the mixture becomes noticeably paler and slightly thickened.
-
Separately, warm the whole milk to approximately 45 C / 113 F. Gradually pour the warm milk into the egg yolk mixture while whisking continuously.
-
Place the mixture over a water bath or double boiler. Heat gently while whisking continuously, making sure to scrape around the bottom and sides of the bowl so the egg yolk cooks evenly. Continue heating until the mixture reaches approximately 83 C / 181 F, then immediately remove it from the heat.
-
Cool the custard to approximately 20 C / 68 F. For faster cooling, place the bowl over an ice-water bath and stir continuously. If you are not in a hurry, press plastic wrap directly against the surface to prevent a skin from forming and refrigerate until cooled.
-
Make sure the softened butter is fully softened before using. Gradually add the softened butter to the cooled custard while whipping.
-
Continue whipping until the buttercream becomes completely smooth, cohesive, slightly aerated, and fully emulsified, with no visible streaks of butter.
-
If the buttercream looks curdled or separated, do not immediately assume it is ruined. The mixture is often simply too cold. Gently warm the outside of the bowl over a water bath for a few seconds, then continue whipping until the buttercream comes back together.
-
Add 15 g sake kasu and continue whipping until evenly incorporated. Taste the buttercream. For a stronger fermented sake aroma, increase the sake kasu to 20 g.
-
The finished buttercream should be smooth and airy, with a noticeable but balanced sake kasu character rather than an aggressively alcoholic flavor. If your sake kasu contains a few small pieces of fermented rice, you do not necessarily need to strain them out. A little texture is completely fine.
Part 3: Assemble
-
Pair dacquoise shells of similar sizes.
-
Transfer the sake kasu buttercream to a piping bag and pipe it generously onto the flat side of half of the shells.
-
Top with the remaining dacquoise and press very gently, just enough to spread the filling slightly without cracking the shells.
-
Transfer the assembled dacquoise to an airtight container and refrigerate. You can eat them immediately, but I actually prefer them after they have had some time to rest.
-
As the dacquoise sits, a small amount of moisture from the buttercream migrates into the shell. The interior becomes softer, slightly chewier, and more cohesive with the filling, while the exterior retains some of its delicate crust.
-
For serving, let the dacquoise sit briefly at room temperature so the buttercream can soften slightly.
Recipe Tips & Notes
What Is Sake Kasu?
Sake kasu, also called sake lees, is the fermented rice solids left behind after sake is pressed.
It has a distinctive combination of fermented rice, gentle sweetness, subtle savory notes, and sake-like aroma.
In this recipe, that fermented character cuts through the richness of the buttercream and gives the filling much more complexity than a conventional buttercream.
Where Can I Find Sake Kasu?
You can often find sake kasu at Japanese grocery stores, usually in the refrigerated or frozen section. It may be labeled sake kasu or sake lees.
And importantly: sake kasu is not the same thing as koji.
Koji is rice, or another grain, inoculated with Aspergillus oryzae and is one of the ingredients used during sake production. Sake kasu is the fermented rice material left behind after the sake mash has been pressed.
They have very different flavors and textures and should not be used interchangeably in this recipe.
Cake Flour vs. All-Purpose Flour
Cake flour keeps the dacquoise slightly more delicate. If you do not have cake flour, all-purpose flour can work in a pinch, but the texture may be a little less fine.
Do Not Reduce the Sugar Arbitrarily
Sugar is not only there for sweetness.
In dacquoise, it also plays an important structural role in stabilizing the meringue and influencing the crust and interior texture.
This recipe is already balanced around 40 g powdered sugar and 25 g granulated sugar, so I do not recommend significantly reducing either amount without expecting the final texture to change.
Do Not Overmix the Batter
Once the almond mixture goes into the meringue, work gently but efficiently.
Use the cut-and-fold motion rather than stirring: down through the center, across the bottom, up and over, rotate, repeat.
Stop as soon as the batter is homogeneous and no obvious dry pockets remain. An overmixed meringue cannot be re-aerated.
Watch the Meringue
The meringue is the structural foundation of the dacquoise.
Under-whipped egg whites will not provide enough structure, while severely over-whipped whites become dry and difficult to combine with the almond mixture without losing volume.
Aim for a firm, glossy peak that still looks smooth and supple.
The Powdered Sugar for Dusting Is Additional
The 40 g powdered sugar listed in the dacquoise ingredients goes into the batter.
The two coatings applied before baking require additional powdered sugar.
Keep the layers light and even rather than burying the dacquoise under a thick coating.
Buttercream Temperature Matters
The custard and softened butter need to be at compatible temperatures for a smooth emulsion.
If the custard is too warm, the butter can melt and produce a loose, greasy buttercream.
If the mixture becomes too cold, it may look curdled or separated.
In that case, gently warming the bowl while continuing to whip will often bring everything back together.
Adjust the Sake Kasu to Your Taste
Start with 15 g if you are new to sake kasu or if the variety you are using has a particularly strong fermented aroma.
Increase it toward 20 g if you want the sake character to be more prominent.
Different sake kasu can vary noticeably in moisture, sweetness, fermentation character, and alcohol aroma, so tasting as you go is the best approach.
Storage & Serving
Store the assembled dacquoise in an airtight container in the refrigerator.
For the best eating texture, let them sit briefly at room temperature before serving so the buttercream can soften slightly.
The dacquoise can also be eaten straight from the refrigerator if you prefer a firmer, cleaner texture.
Flavor Profile
Nutty, buttery, gently fermented, and unmistakably sake-forward.
The dacquoise begins with toasted almond and a delicate powdered-sugar crust, followed by a soft, airy, slightly chewy center.
Then comes the buttercream: silky and rich at first, followed by the distinctive fermented-rice aroma of sake kasu, slightly sweet, subtly savory, and faintly boozy.
That fermentation keeps the richness from becoming one-dimensional and makes the entire dessert feel much lighter than you would expect from a buttercream-filled pastry.
It is essentially a classic French dacquoise transformed by one distinctly Japanese ingredient, and the sake kasu is what makes it unforgettable.
Related Recipes
View all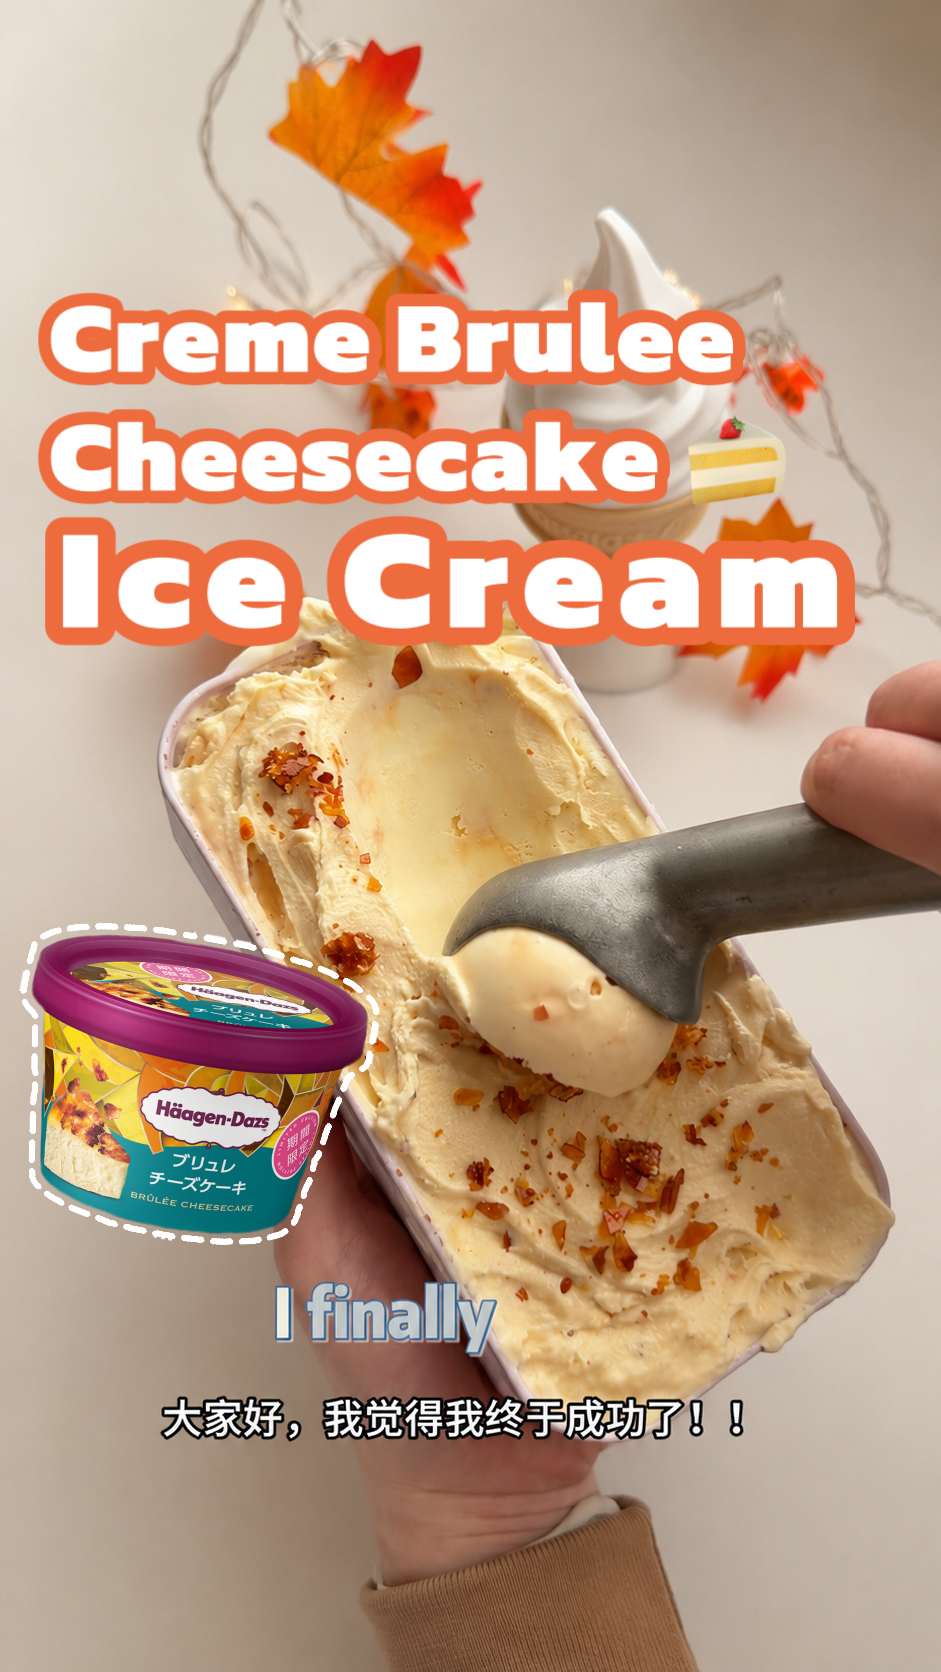
Copycat Haagen-Dazs Japan Creme Brulee Cheesecake Gelato
A creamy cheesecake gelato inspired by the Japan-exclusive Haagen-Dazs Creme Brulee Cheesecake flavor, finished with crackly caramel crunch.
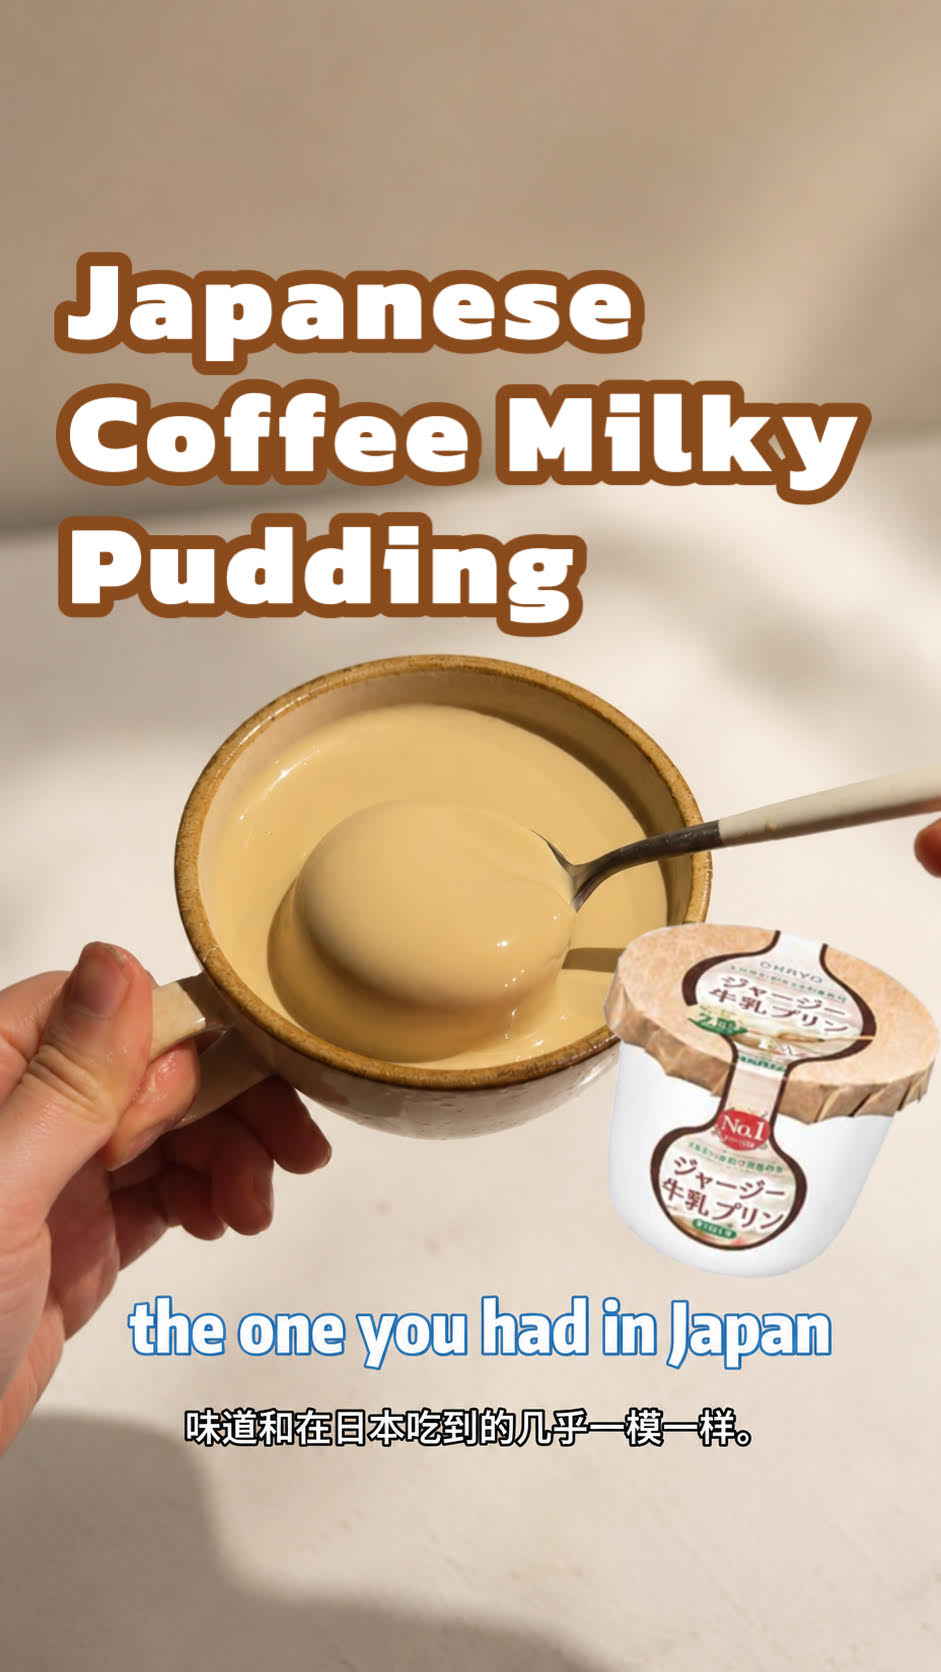
Coffee Milk Pudding
A coffee version of Japanese milk pudding, silky and latte-like with gentle espresso bitterness balancing the rich dairy base.

Matcha Gelato (Low-Sugar, Japanese-Style Bitter Matcha)
A low-sugar Japanese-style matcha gelato with an intensely bitter, vibrant green flavor that hardcore matcha lovers will adore.
Made this? Give it a like!
Comments load when you reach this section.